|
this kit the paper covering the adhesive layer of the windows and trim tended to come off as I removed them from the frame. This made painting them a little tricky until I noticed that the side with the adhesive was shiny.
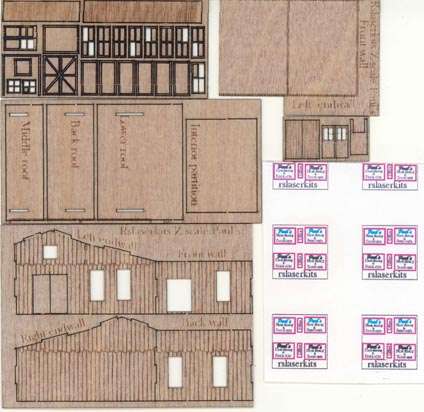
There was a bit of confusion in the instruction sheet: On the diagram showing the parts, the side sidewalk is labeled "O" but is labeled "Q" in the key. On the diagram, "Q" labels the office door frame (which isn't mentioned in the key.) There is no "O" in the key to the parts.
The key also lists part Y as "corner angle (not shown)". At first I assumed that this was something used to make sure that the walls went together square. But I couldn't find such an item and assumed that perhaps it, like the "slots" which the directions say are in the base - but which aren't, was not something in the Z scale kit. Later I discovered that what I'd thought were pieces of scrap - like the little wooden pieces that fall out of the window frames - were actually L-shaped, not flat and that there were no laser-cut holes for them to have fallen out of anyhow. These apparently are the "corner angles." They are pieces of trim to cover the four corners of the building.
The list of tools that will be needed includes "roofing material" - which is part of the kit.
The instructions include a number of typos. Fortunately, the kit is easy enough to construct that the typos don't cause problems. I'm not the world's best typist , but I do try to proofread what I type and use a spell checker whenever possible. (If you think my web pages look bad now, you should see them before I upload them!) You'd think that someone producing a product for sale would do the same.
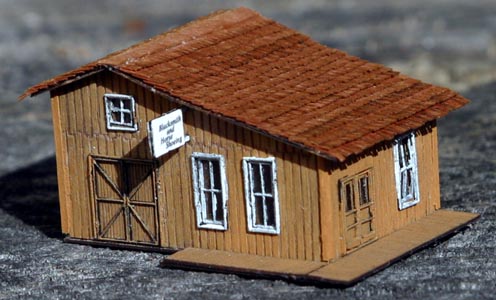
Those things said, construction was fairly straight forward.
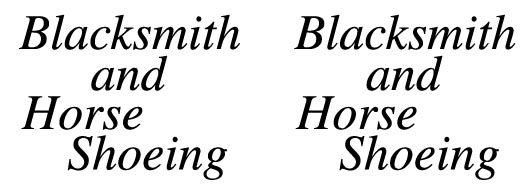
I painted the walls with Model Master "Wood" and the windows and window trim with Testors "Flat White." Rather than use the "Paul's" signs that came with the kit I used Photoshop to create my own signs for the "Blacksmith and Horse Shoeing" shop. I created a 0.438 (7/16) inch by 0.313 (5/16) inch image and used 6 point Italic Nimbus Roman No9L for the text on a white background. I then doubled the width of the sign and copied the text from the left to the right side so that I could cut it apart after printing to make a double-sided sign for the shop. As with the other kits, I printed the image at maximum resolution with Janet's Hewlett Packard Deskjet 3915 onto a sheet of heavy card stock. For some strange reason, this resulted in a sign twice the size that it should have been. So I cut the dimensions of the image in half and it printed fine.
|